
Installation
This section describes the process of downloading and running the MORAI SIM: Drive.
1. Download the Launcher
Click the below link to download the MORAI SIM: Drive Launcher package.
2. Activate the License
Before running the MORAI SIM: Drive, you would need to activate the license for the simulator.
Check out the below license types and proceed with the license activation according to the corresponding product.
For more information about purchasing the product license, feel free to contact our MORAI Help Desk.
1] USB Dongle License
Connect the USB Dongle included with the simulator product to the user's PC to activate the license.
The USB Dongle
: It is a device for activating the simulator license and does not include separate installation files.
2] User Account License
Enter the credentials on the product launcher page when activating the license using the ID/PW provided with the simulator product.
An internet connection is required to activate the license through this method.
The official simulator version only supports license activation via user accounts.
However, if you are in an environment without internet access, you can activate the license using the USB Dongle.
3. Run the MORAI SIM: Drive
For Windows
After download completes, follow the below steps.
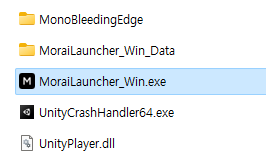
1] Run the MORAI SIM: Drive Launcher
Click MoraiLauncher_Win.exe to run the MORAI SIM: Drive launcher from the downloaded package.
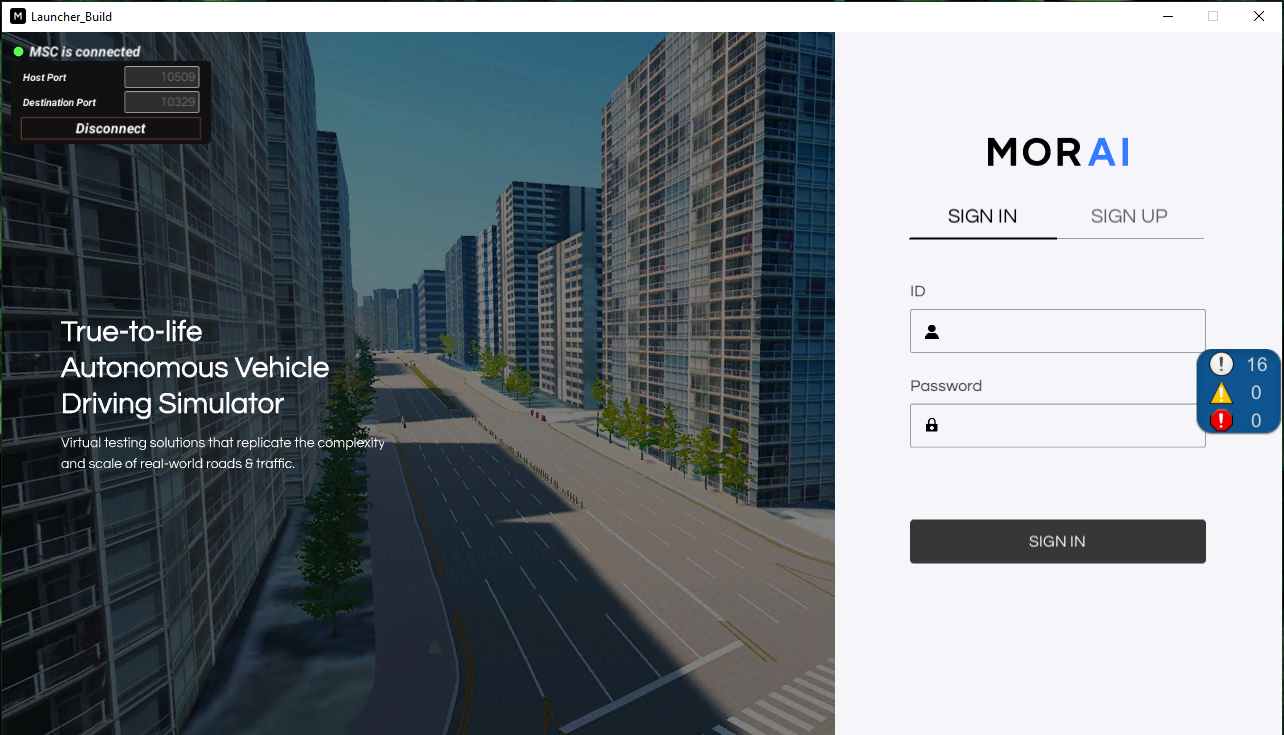
2] Launcher > Sign in (1)
In this step, you can access the sign-in window as shown below.
Authenticate the user credentials using the provided ID and Password and press SIGN IN.
When the launcher runs properly, “MSC is Connected” is displayed at the top left of the window.
The default screen resolution, minimum, and maximum values for each Launcher and MORAI Simulator are as follows:
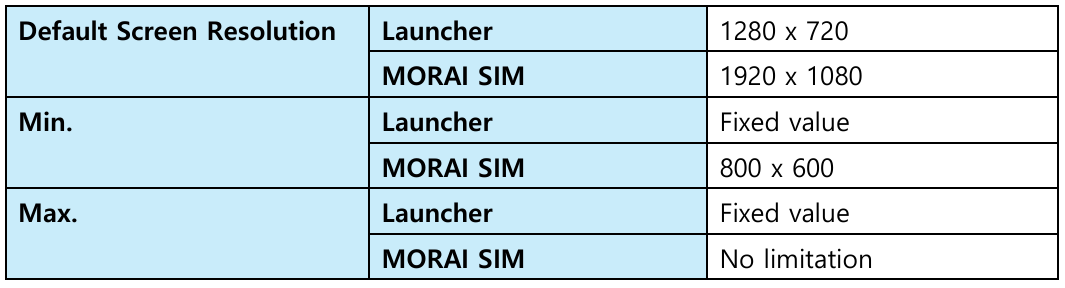
When the monitor resolution is lower than the resolution set by the program: The simulator runs according to the monitor's resolution.
This resolution is handled in pixels, independent of the Windows display settings.
For MORAI Simulator, the window size can be adjusted below the minimum size using mouse control. However, after restarting the program, it will revert to the minimum size.
MSC(MORAI Simulator Controller) Connection Status
The default connection status of the MSC is displayed at the top left of the launcher, and the user's connected port is automatically displayed, as shown below.
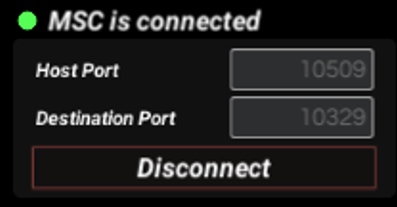
Host port
Destination port
Whether the MSC is well connected (Connect/Disconnect)
Additionally, a port modification feature has been added. This allows the user to adjust the port when necessary.
Examples where port modification is required:
when a user's MSC connection is unavailable.
When running a launcher on a different server.
When different port needs to be connected.
If the current port is already occupied by another user, making it unavailable for use.
3] Launcher > Sign in (2)
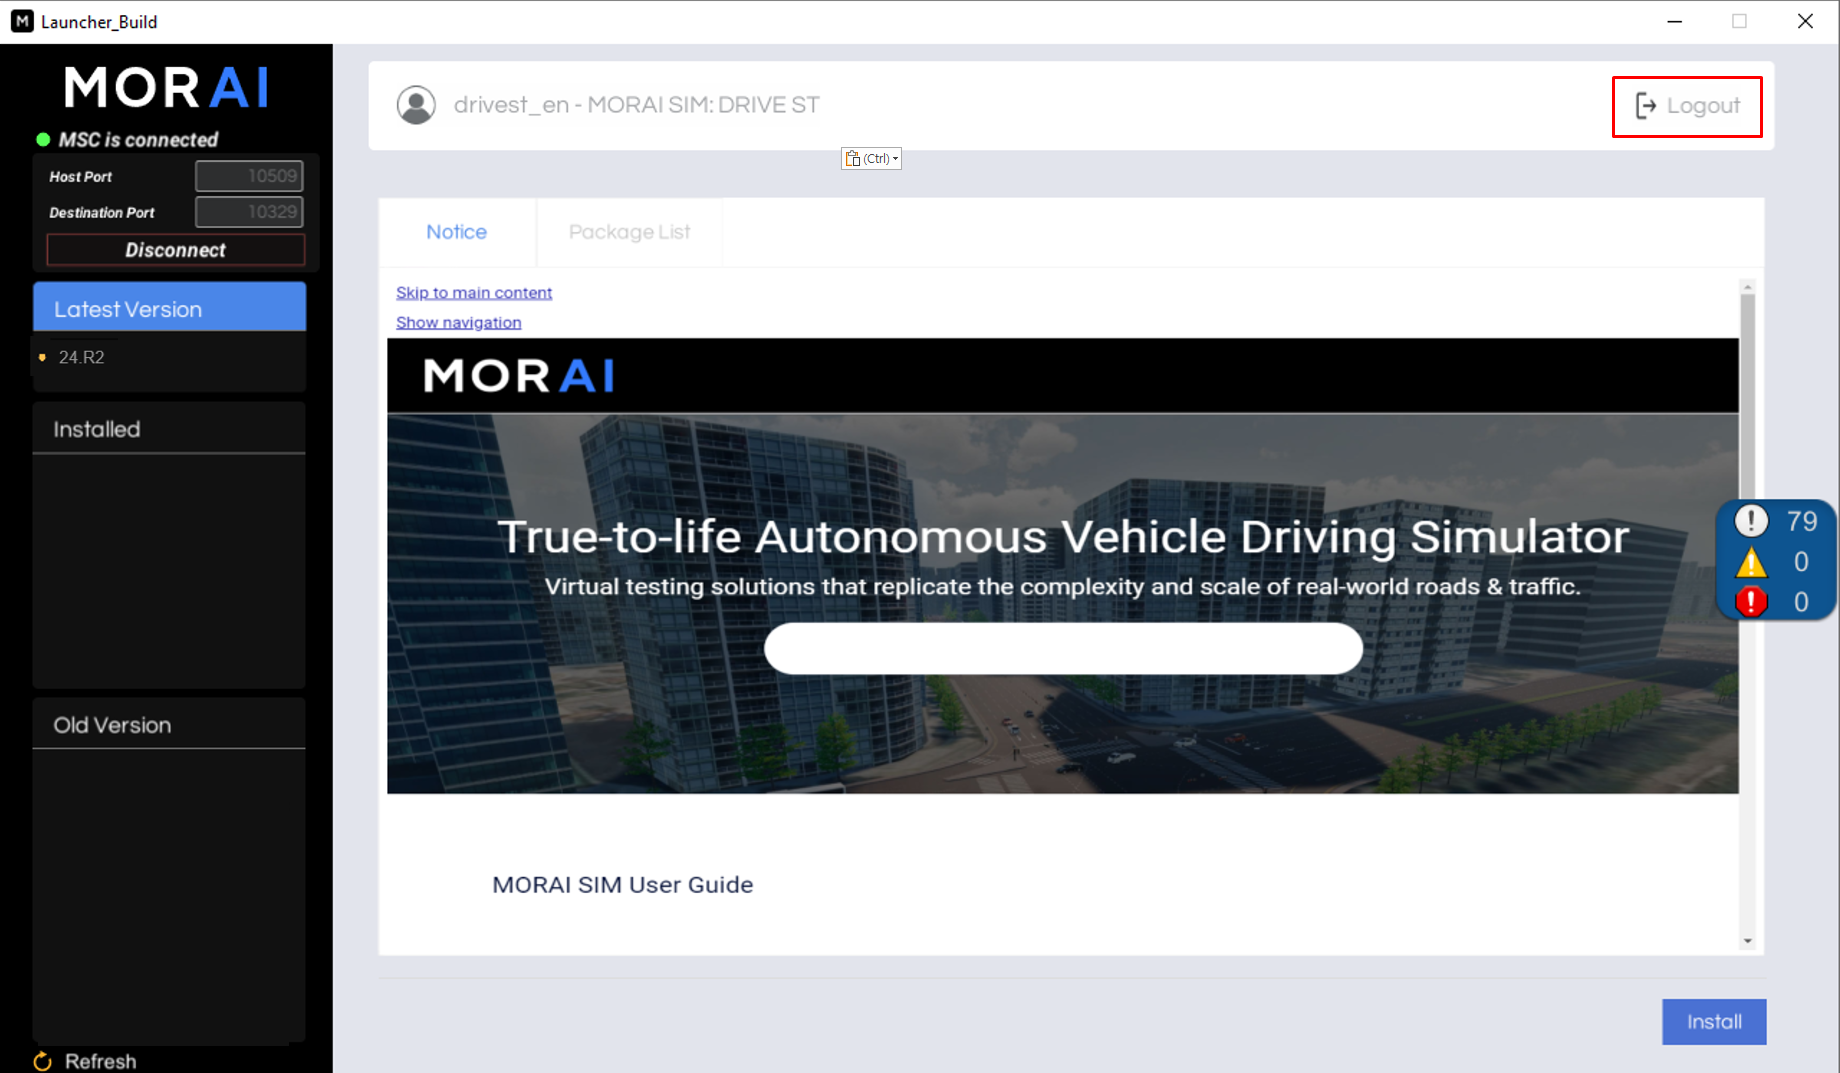
You can confirm the below window after signing in the simulator.
The launcher supports Auto-Login as a default option.
This means that after a user logs in, the system retains the login status and uses the last connected ID/PW information unless the user logs out.
To prevent the launcher from remembering previous login credentials, the user should click the Logout button at the top-right corner to manually log out.
This ensures that the login information is not saved for future sessions, maintaining privacy and security.
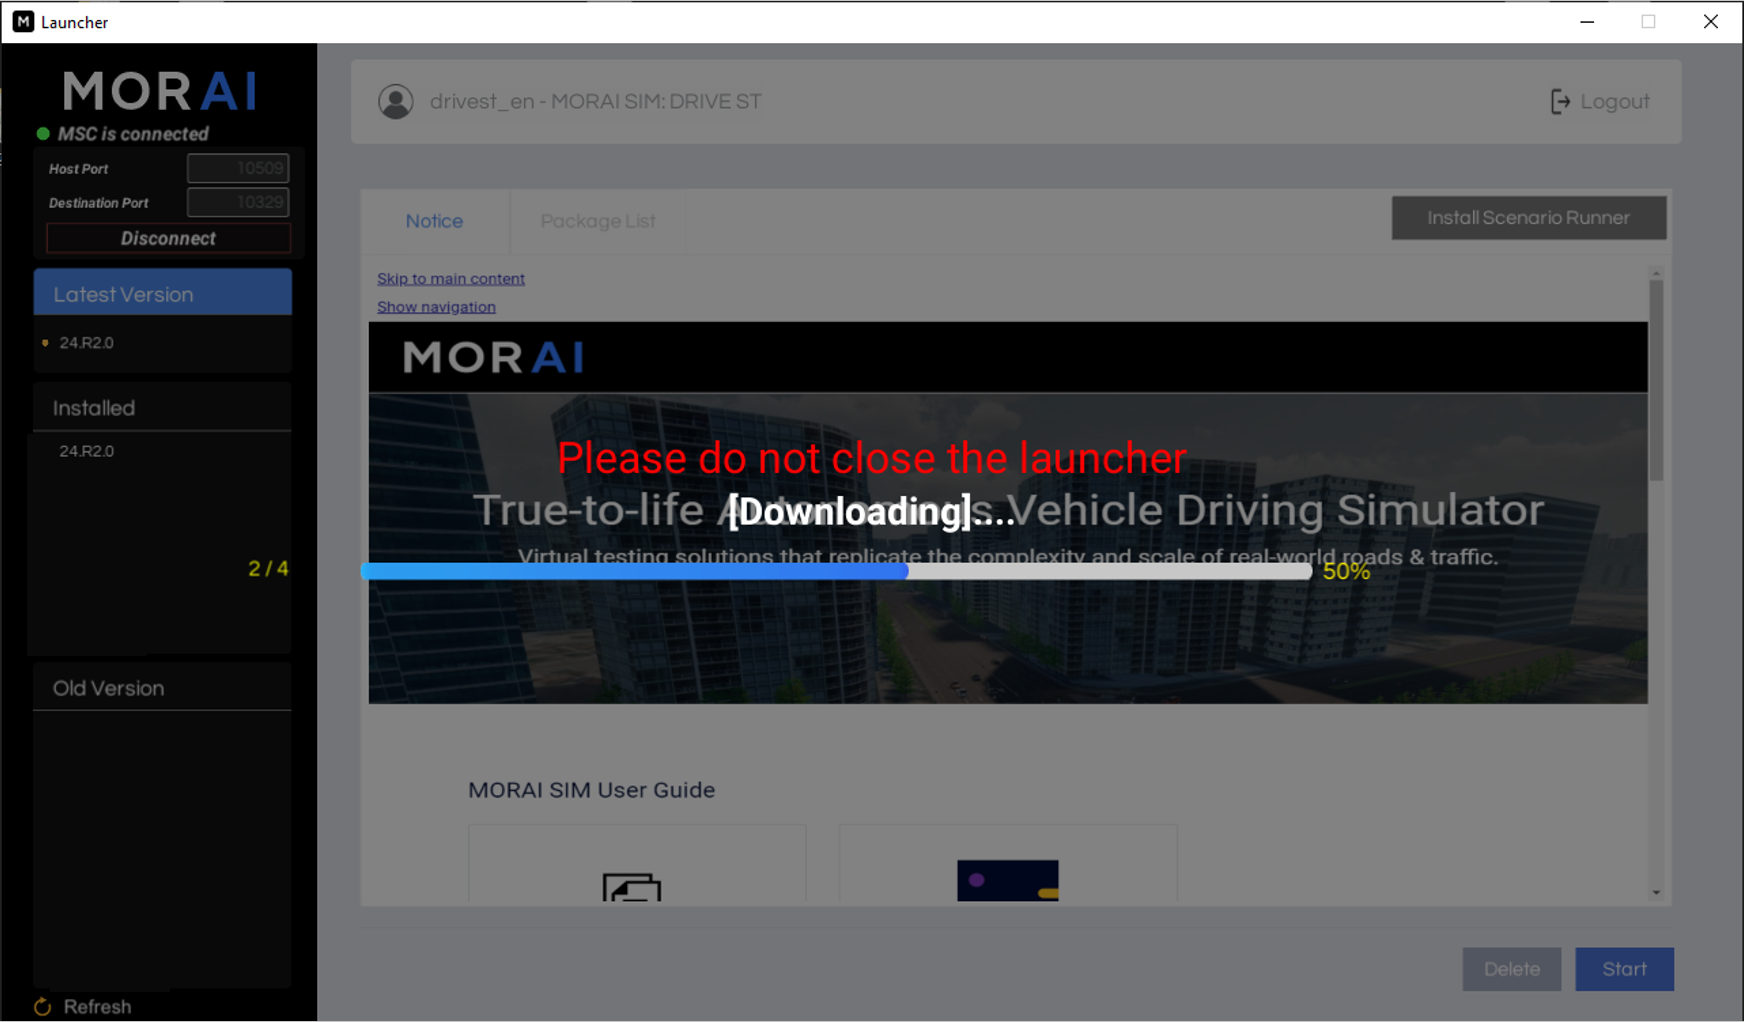
4] Download the Simulator’s latest version
Select the simulator’s latest version at the left side, and click Install to download it.
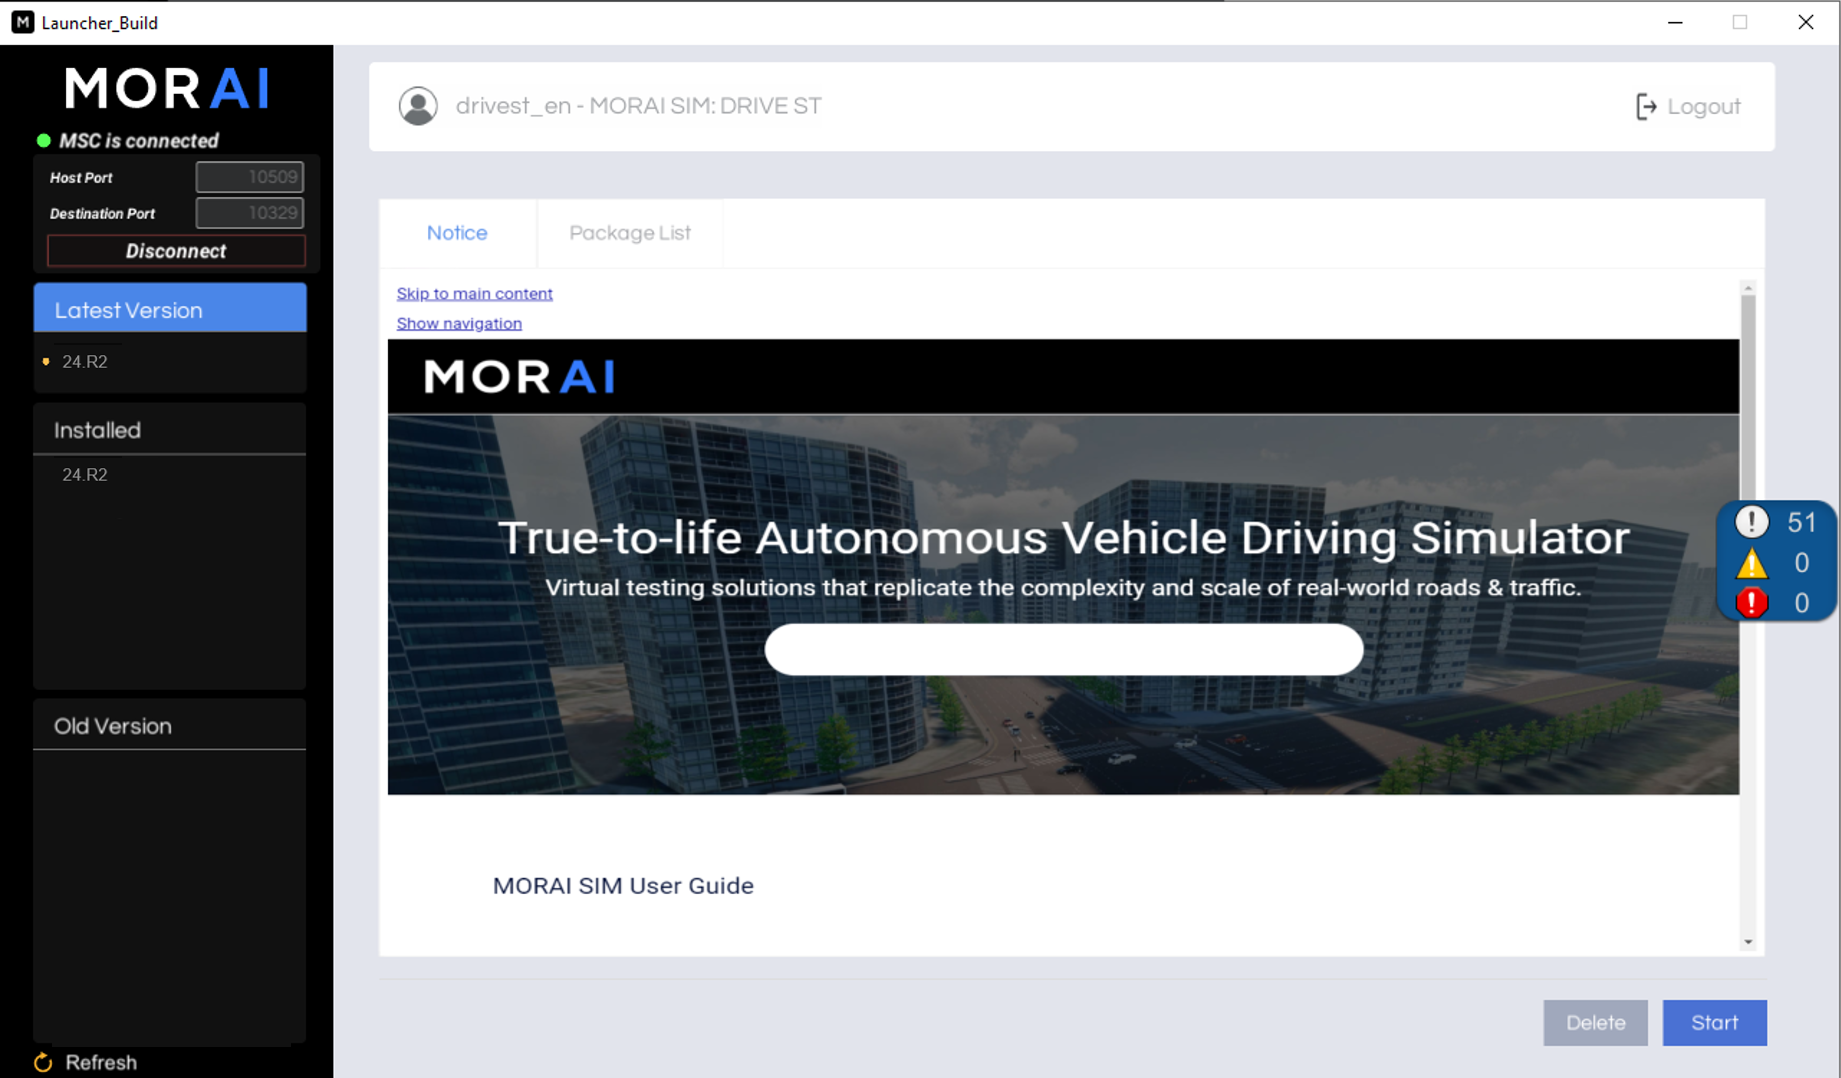
5] Start the Simulator
After the latest version download completes, click Start to run the simulator.
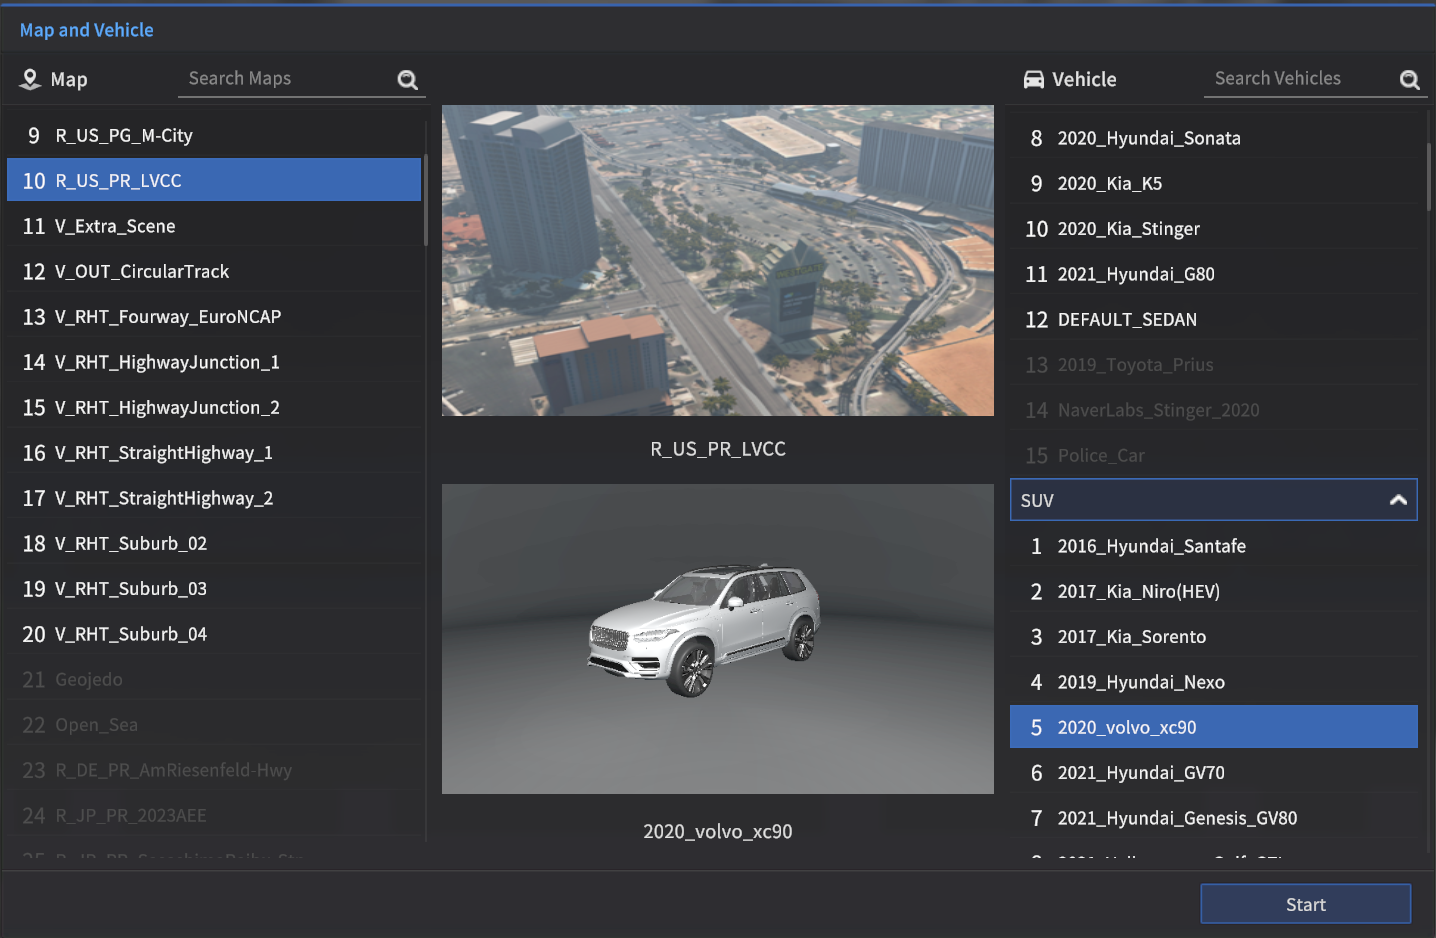
6] Select Map and Vehicle
When the simulator starts, Select Map and Vehicle appears where you can select the map and vehicle model to be used in the simulation.
Choose the appropriate map and vehicle model that match the environment you wish to test.
After selecting both, click Start to begin the simulation.
For Linux
Run the Simulator with a keylok (USB-based license authentication)
Confirm the below red-colored file in the MORAI SIM: Drive Launcher package, and follow the steps before starting the simulator.

Grant permission to the
keylok_install.shfile by running the command:
$ chmod +x keylok_install.sh
$ sh keylok_install.sh
If a Syntax Error occurs during the execution, run the following command to resolve it:
$ sudo apt-get install dos2unix
$ dos2unix keylok_install.sh
$ sh keylok_install.sh
Run the Simulator with a User Account
Confirm the below red-colored files in the MORAI SIM: Drive Launcher package.
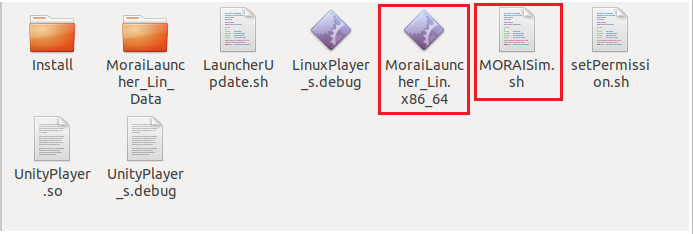
Grant permission to the
MORAISim.shfile by running the command:CODE$ chmod +x MORAISim.sh $ chmod +x MoraiLauncher_Lin.x86_64 $ ./MORAISim.sh
Troubleshooting: If a running issue occurs in a Simulator
Here are the resolutions when you face the simulator running issue.
For Windows
If the Visual C++ Runtime is not installed properly on a Windows operating system, follow these steps to resolve the issue.
Download the below Visual C++ Runtime installation files:
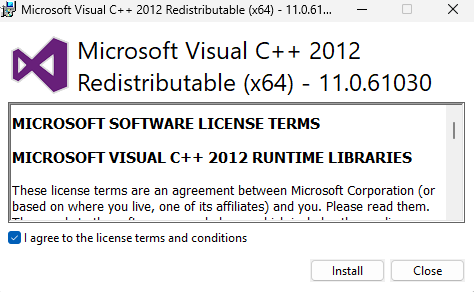
For Visual C++ 2012 Runtime: Download the vcredist_x64_2012.exe.
For Visual C++ 2013 Runtime: Download the vcredist_x64_2013.exe.
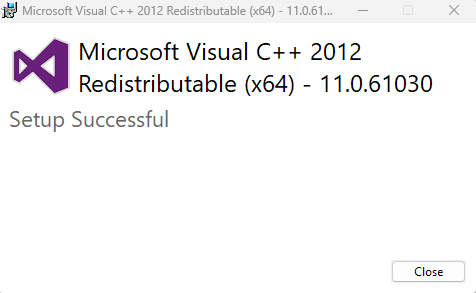
Install the downloaded files.
Run the MORAI Simulator again after above two files are installed.
For Linux
Firstly, check if the nouveau driver (open-source NVIDIA driver) is installed:
(If the command returns output, it means the nouveau driver is installed. You need to remove it before installing the official NVIDIA drivers.)
$ lsmod | grep nouveau
2, Create the blacklist configuration file: (You can do this using either of the two methods)
$ sudo vi /etc/modprobe.d/blacklist-nouveau.conf
$ sudo gedit /etc/modprobe.d/blacklist-nouveau.conf
Add the following two lines in the .conf file which already created, then save and exit (
Ctrl+X, thenY, thenEnter).
blacklist nouveau
options nouveau modset=0
Regenerate Initramfs and Reboot.
Run the following commands to apply the changes:
$ sudo update-initramfs -u
$ sudo reboot
After rebooting, switch to console mode by exiting the X Windows environment:
Ubuntu 18.04
CODE$ sudo service gdm stopUbuntu 16.04
CODE$ sudo service lightdm stop
Run the following commands to add the NVIDIA driver repository and update the package list:
$ sudo add-apt-repository ppa:graphics-drivers/ppa
$ sudo apt update
$ sudo ubuntu-drivers autoinstall
$ sudo reboot
After reboot, check if the NVIDIA driver was successfully installed:
$ nvidia-smi
Once the NVIDIA drivers are installed, install Vulkan:
$ sudo apt-get install libvulkan1After installing both NVIDIA drivers and Vulkan, restart your system once more and try running the simulator again.